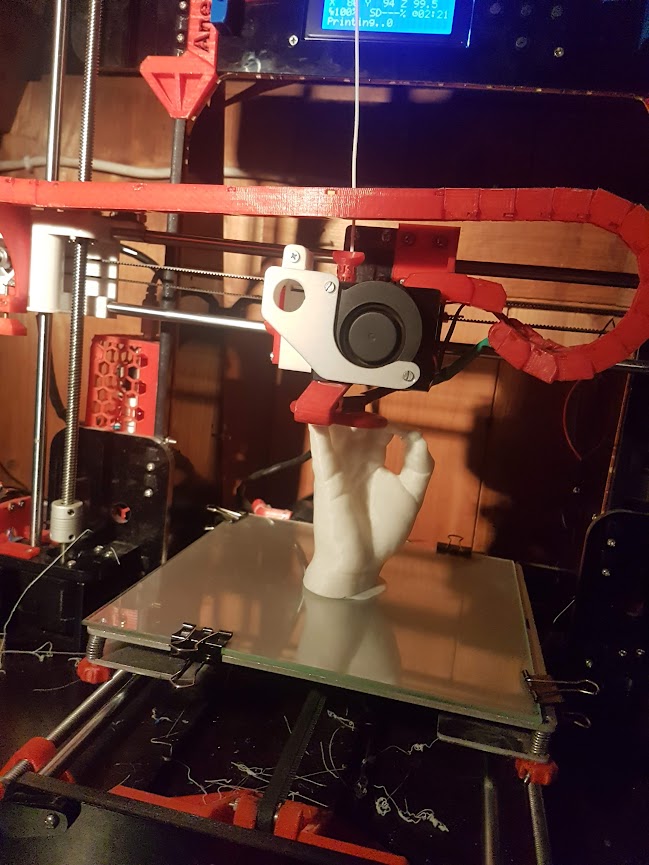
I got into 3D printing more by accident when a friend sold me a cheap, slightly cursed Anet A8, which lived long time in a drawer under my bed in a custom-made enclosure and has several kilograms of filament in custom parts and upgrades. Working with and debugging this all-but-reliable printer cost me a ton of nerves and a significant chunk of my lifetime, but it was also really valuable, because I now know this thing inside out. Through the initial hurdles and countless troubleshooting sessions, I now have an in-depth understanding of every component. In the first months, every other print failed and there was always something that required fixing, but in the end there are only so many moving parts in a 3D printer, so the amount of stuff that can fail is finite - and I am pretty sure I have reached that limit. With my own Marlin & Octoprint customization as well as basically every piece of its hardware at some point upgraded, replaced or reprinted, over the years I have transformed this seemingly troublesome machine into a somewhat reliable tool. The countless modifications and upgrades have led to a stable setup that by now just simply works and I am happy with it. Gradually, the mechanical system of the printer shifted from an object of care to simply a tool that I use.


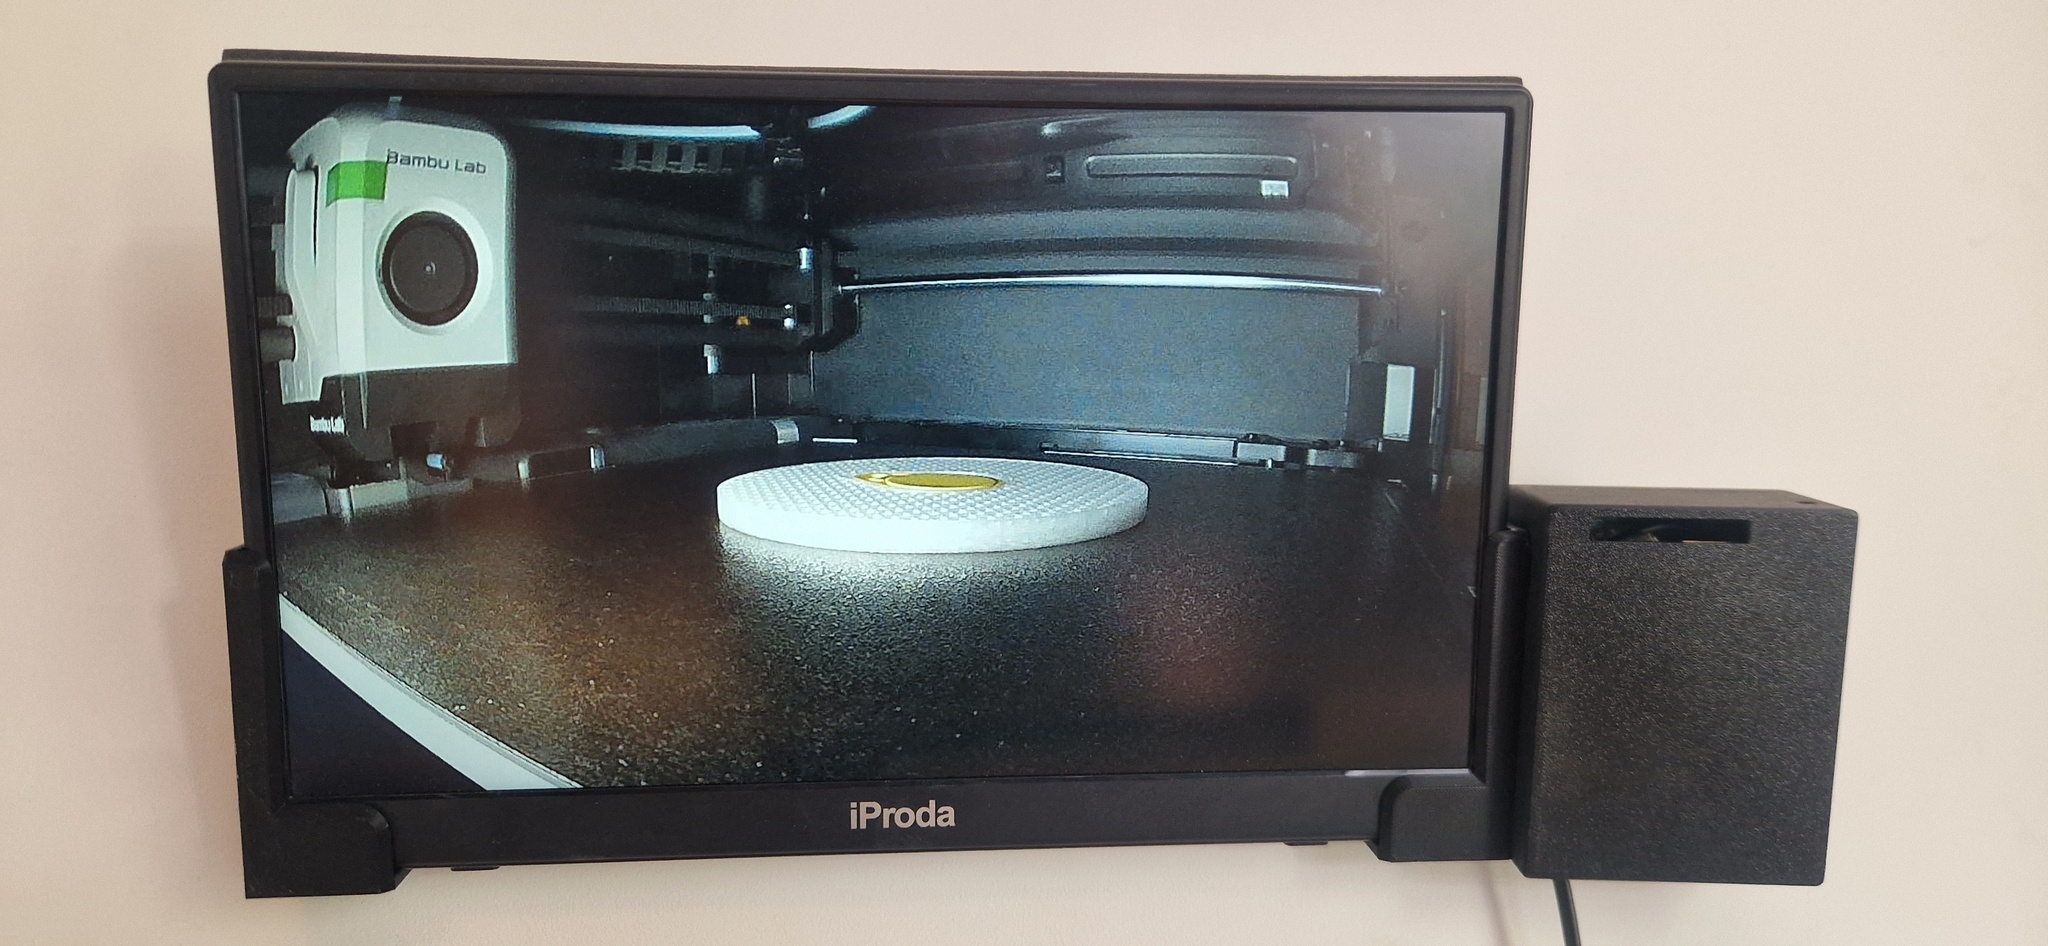
These days, most of the actual printing happens on a Bambu P1S, which is more what I require now: just another tool in my arsenal, that just does its job while I focus on the design of the parts, the CAD and the rest of the project.
I use 3D printing for basically every physical project you can see on this site: enclosures, mounts, brackets, little one-off adapters that somehow stay in service for years and, well, most of the hardware. My Thingiverse profile is unfortunately still very empty, but in practice printed parts are everywhere.
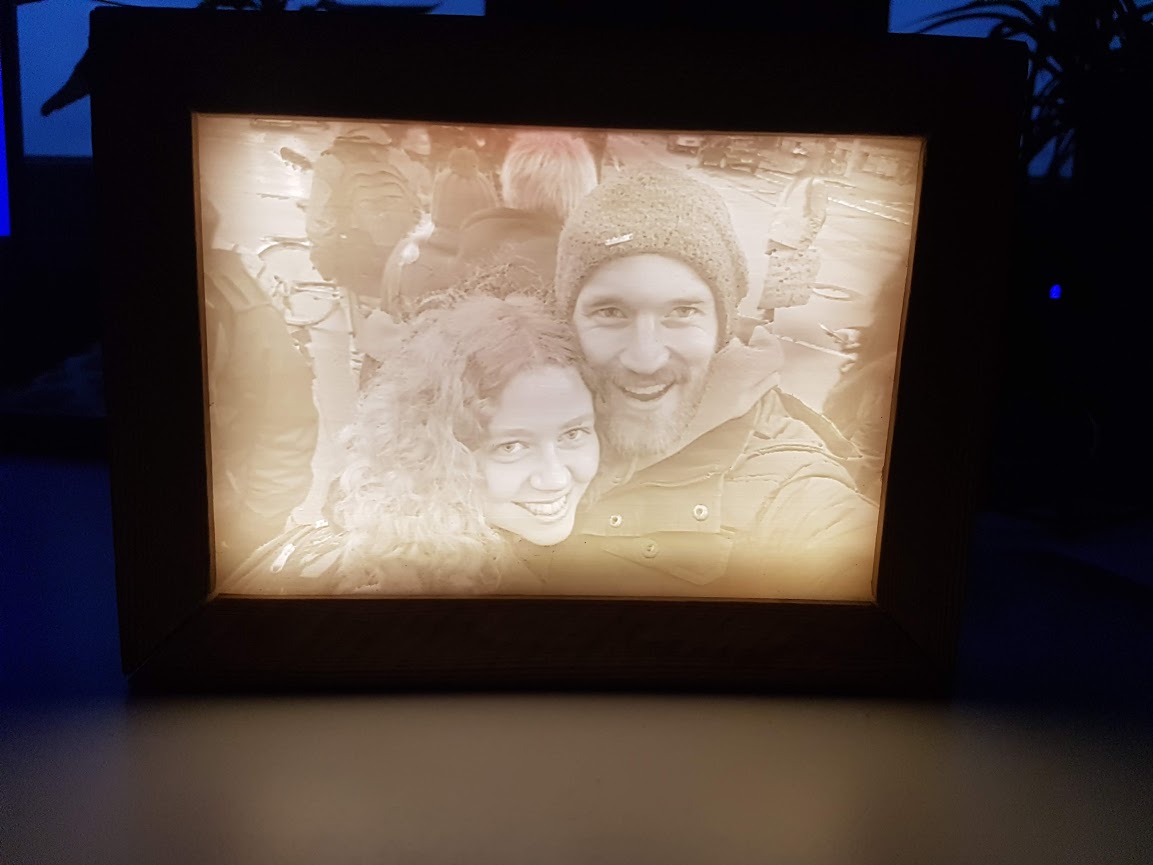
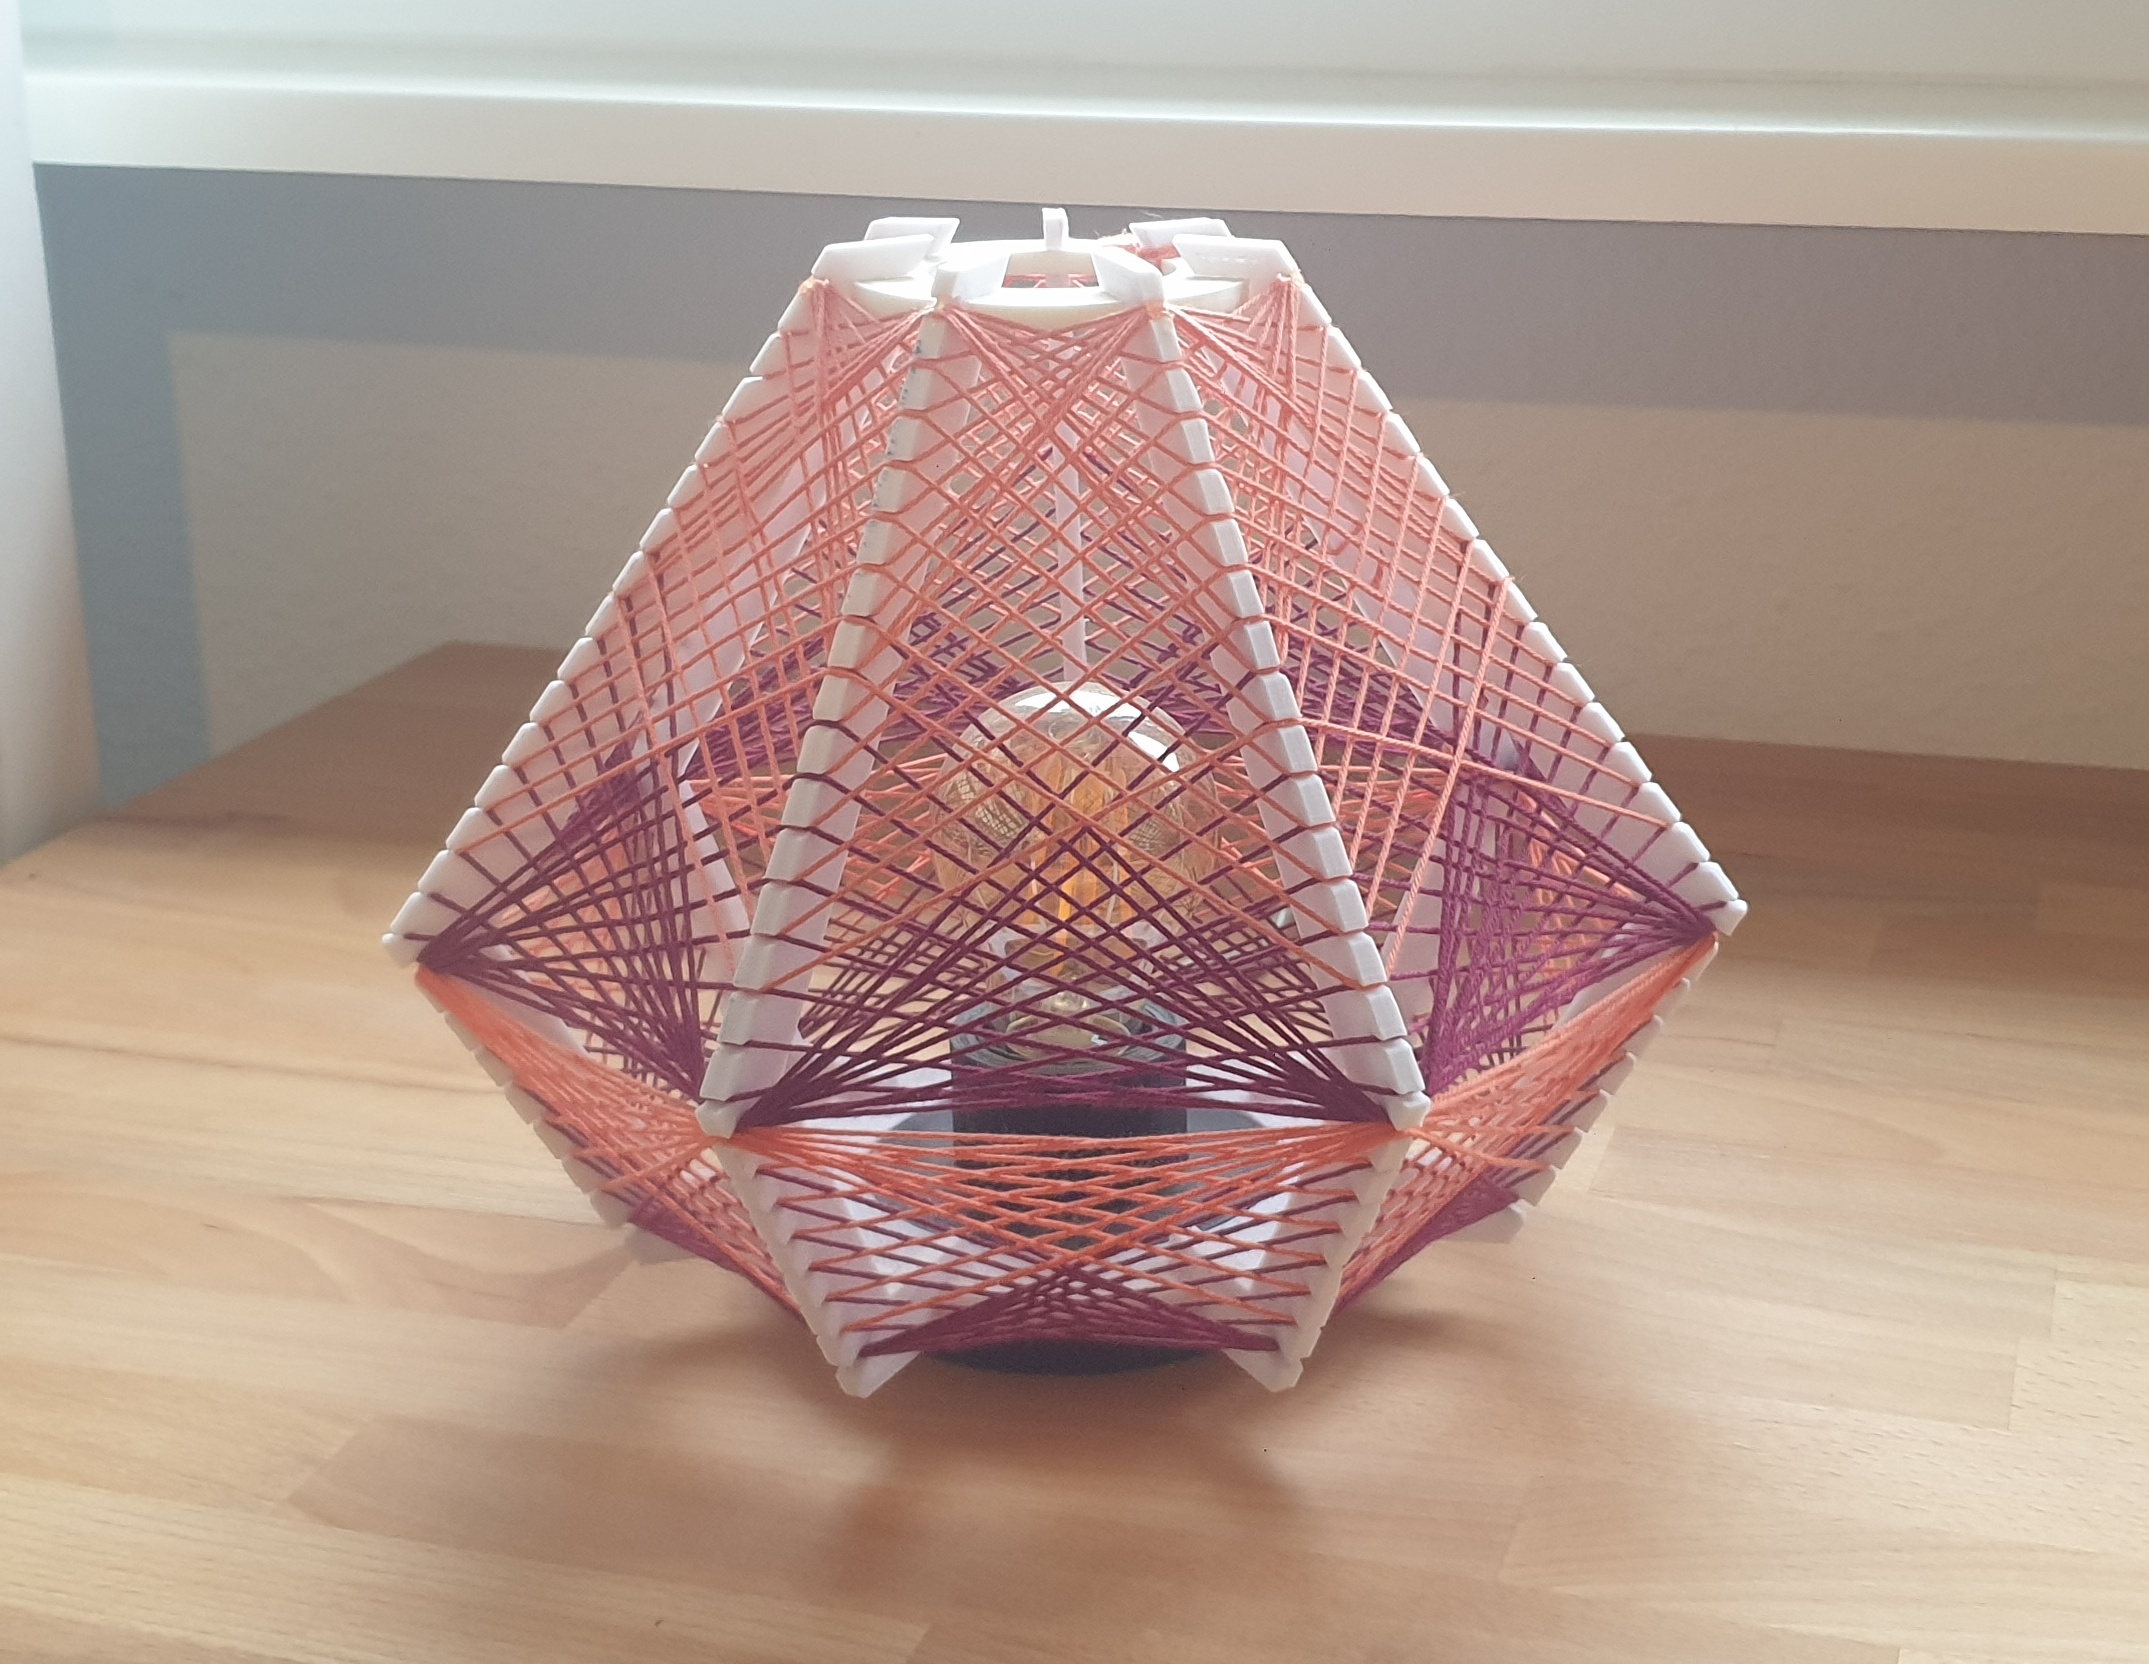
CAD is something I taught myself along the way and it has become a big part of what makes me a maker. I think of a build, notice that some piece of hardware is missing, fire up CAD, print the thing I want, and move on. On the CAD side I switch between Blender or SketchUp to stay on my Linux, Fusion 360 on Windows, and OpenSCAD when things should be properly parametric. I am not the person to just download random decorative stuff from the internet - plastic is bad enough that I mainly use it for functional parts: enclosures, organizers, LED and sensor mounts, brackets, jigs, and the occasional nice-looking lampshade or lithophane when it makes sense.

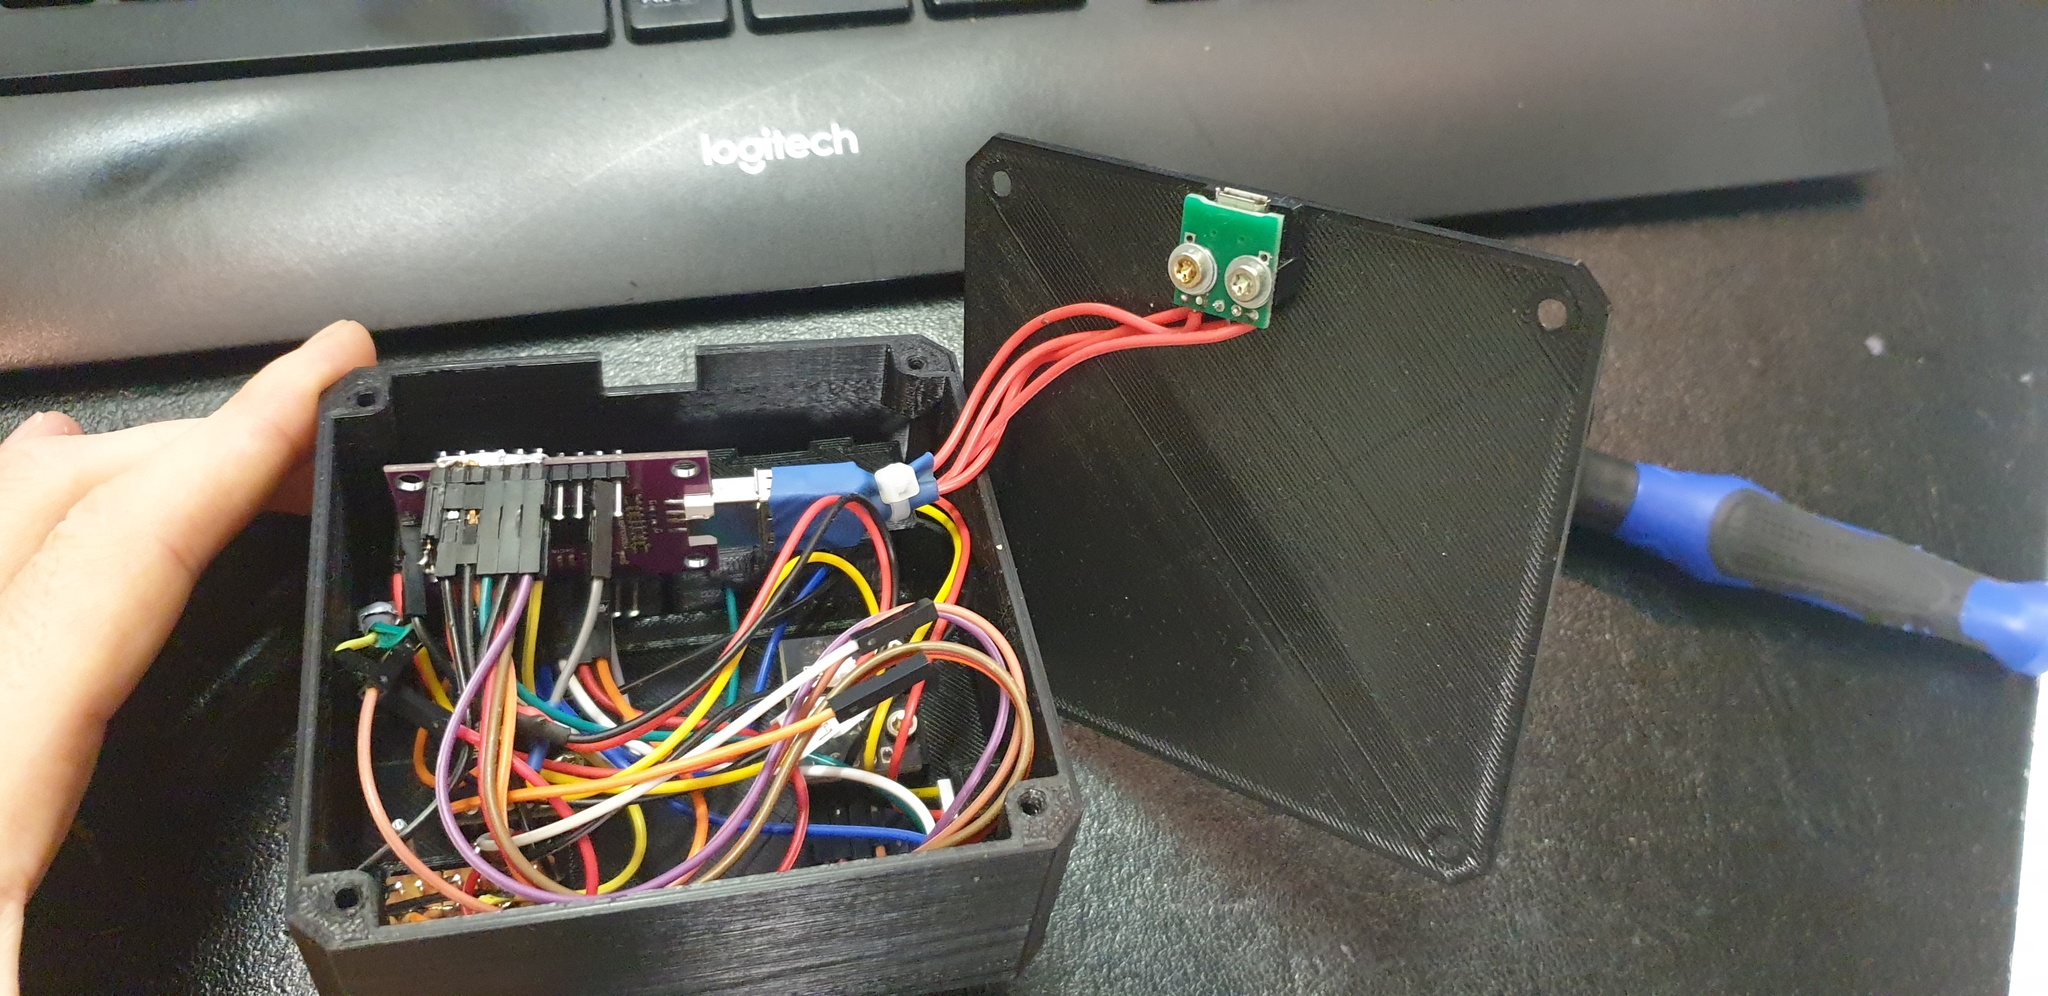
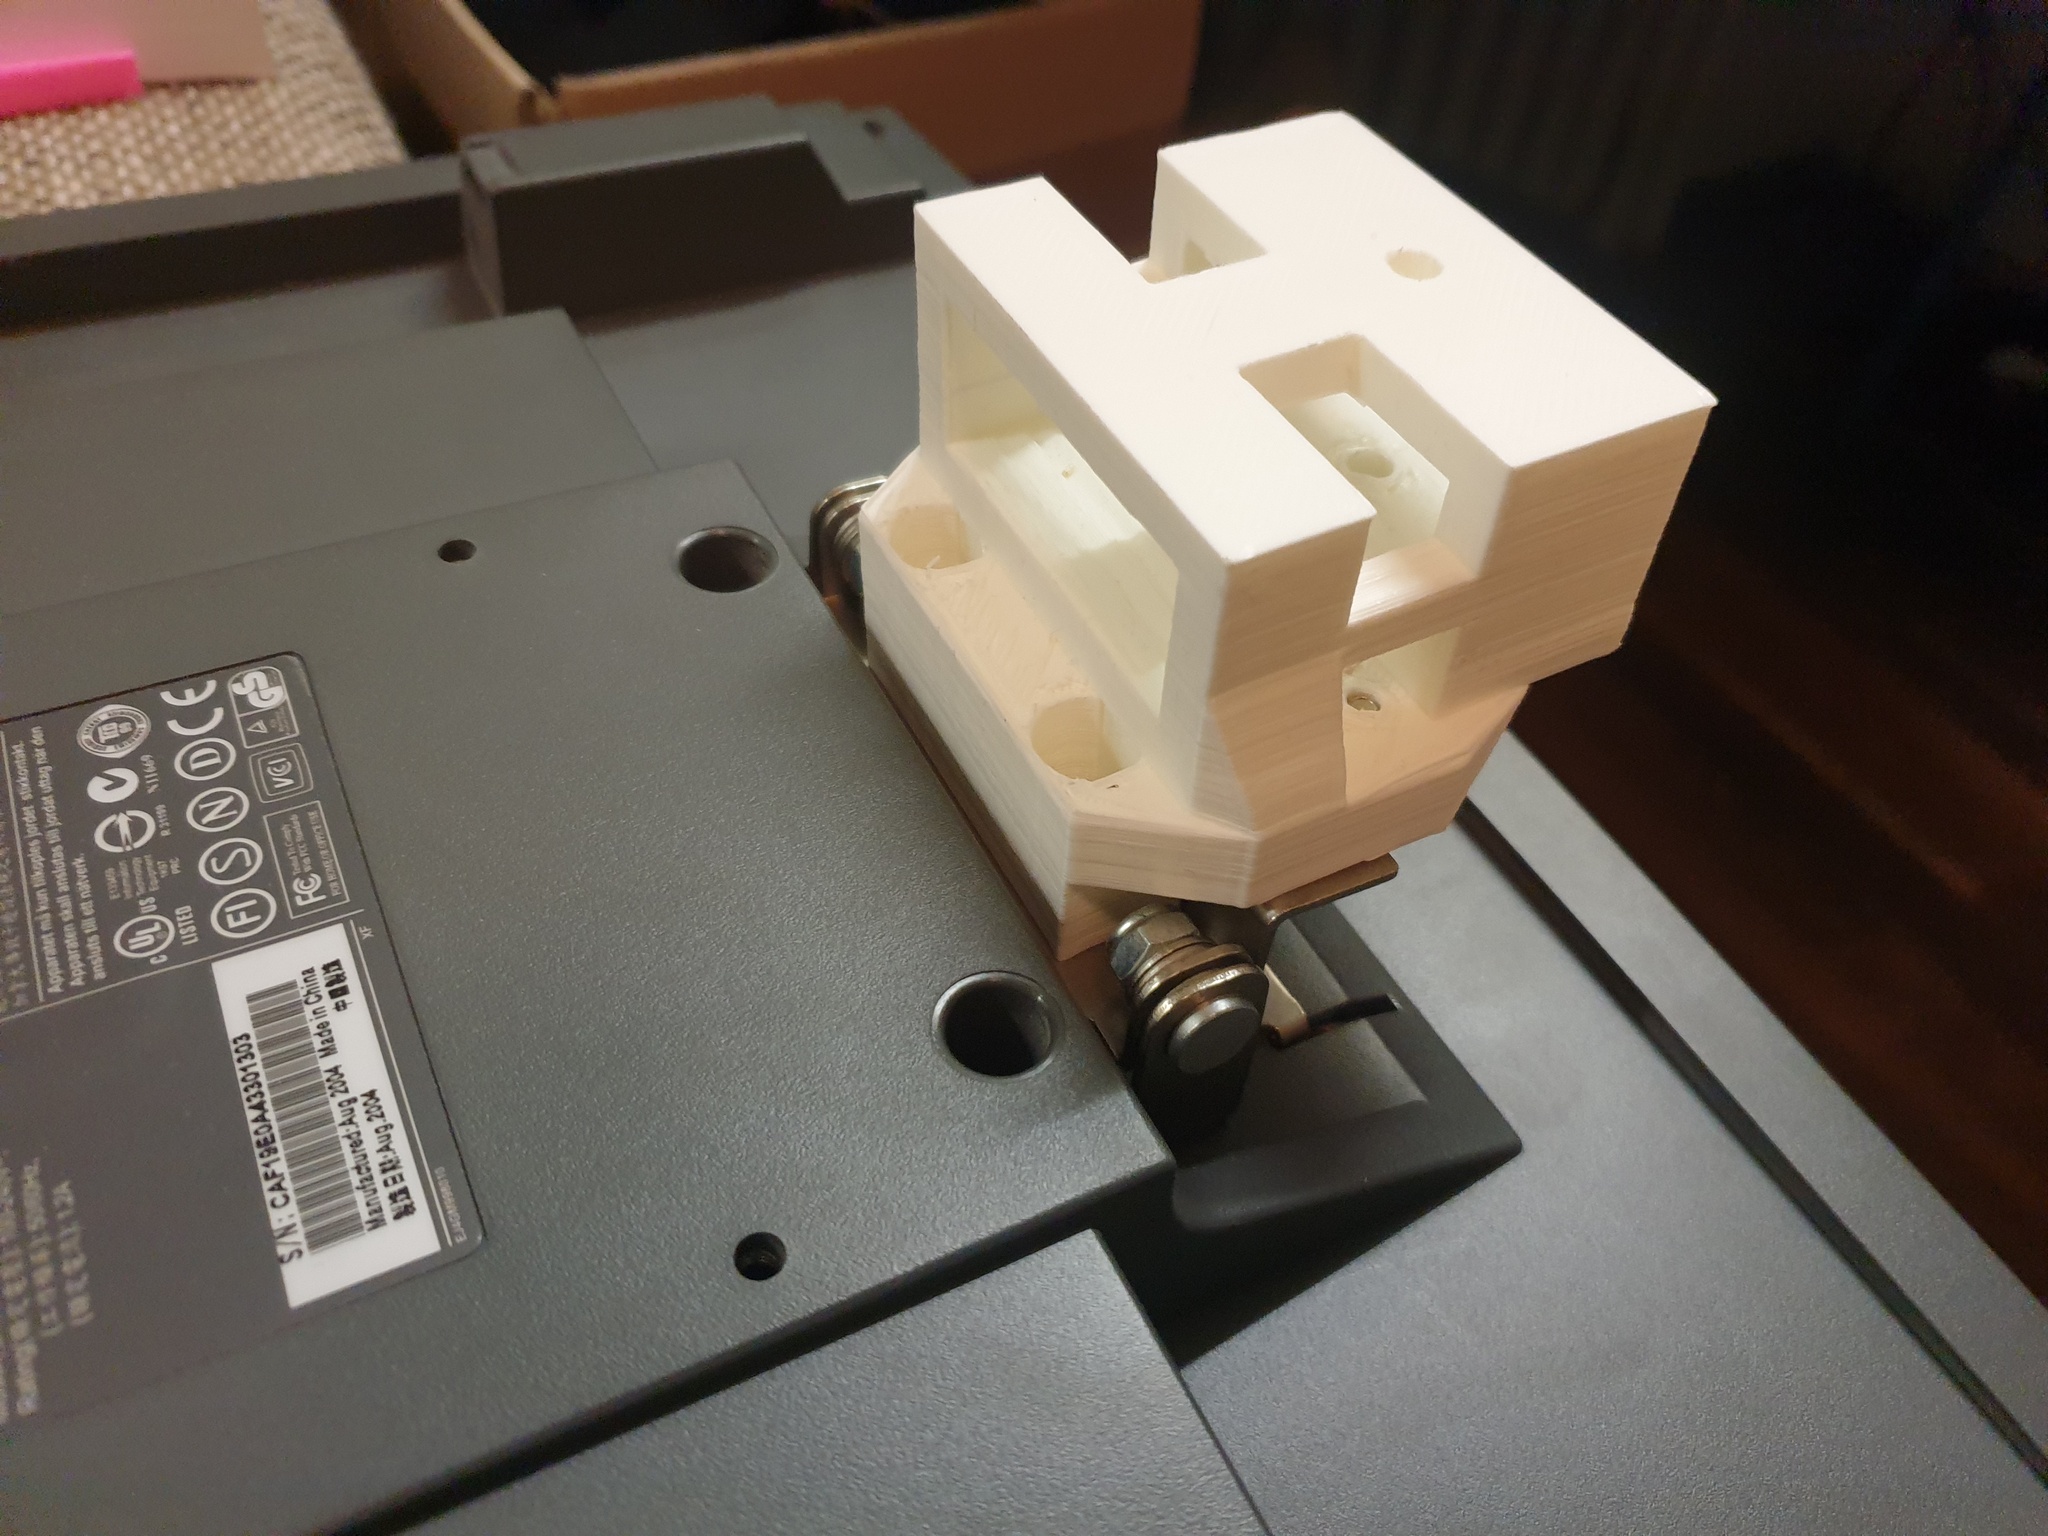
While I do like to make my own design objects or the like, I mostly combine 3D-printing with my enthusiasm for electronics, designing enclosures for my electronics projects. In more recent builds like Tux-Kart with Real-Life Powerups and the Relay-Boxes, most of the physical glue between “electronics” and “festival-proof installation” is printed: housings around the relay electronics, fixtures for fog pipes and water squirters, scale mounts, steering and seat adapters, and all the small bits that bolt this stuff onto whatever wood or metal was available on site.
At this point, the printers are just infrastructure. Having learned my mechanical and firmware lessons on that half-rebuilt Anet A8, 3D printing is simply what I reach for when a hardware idea needs to go from “hack” to robust, mountable and sleek without spending weeks on it.
Some of the projects in need of it
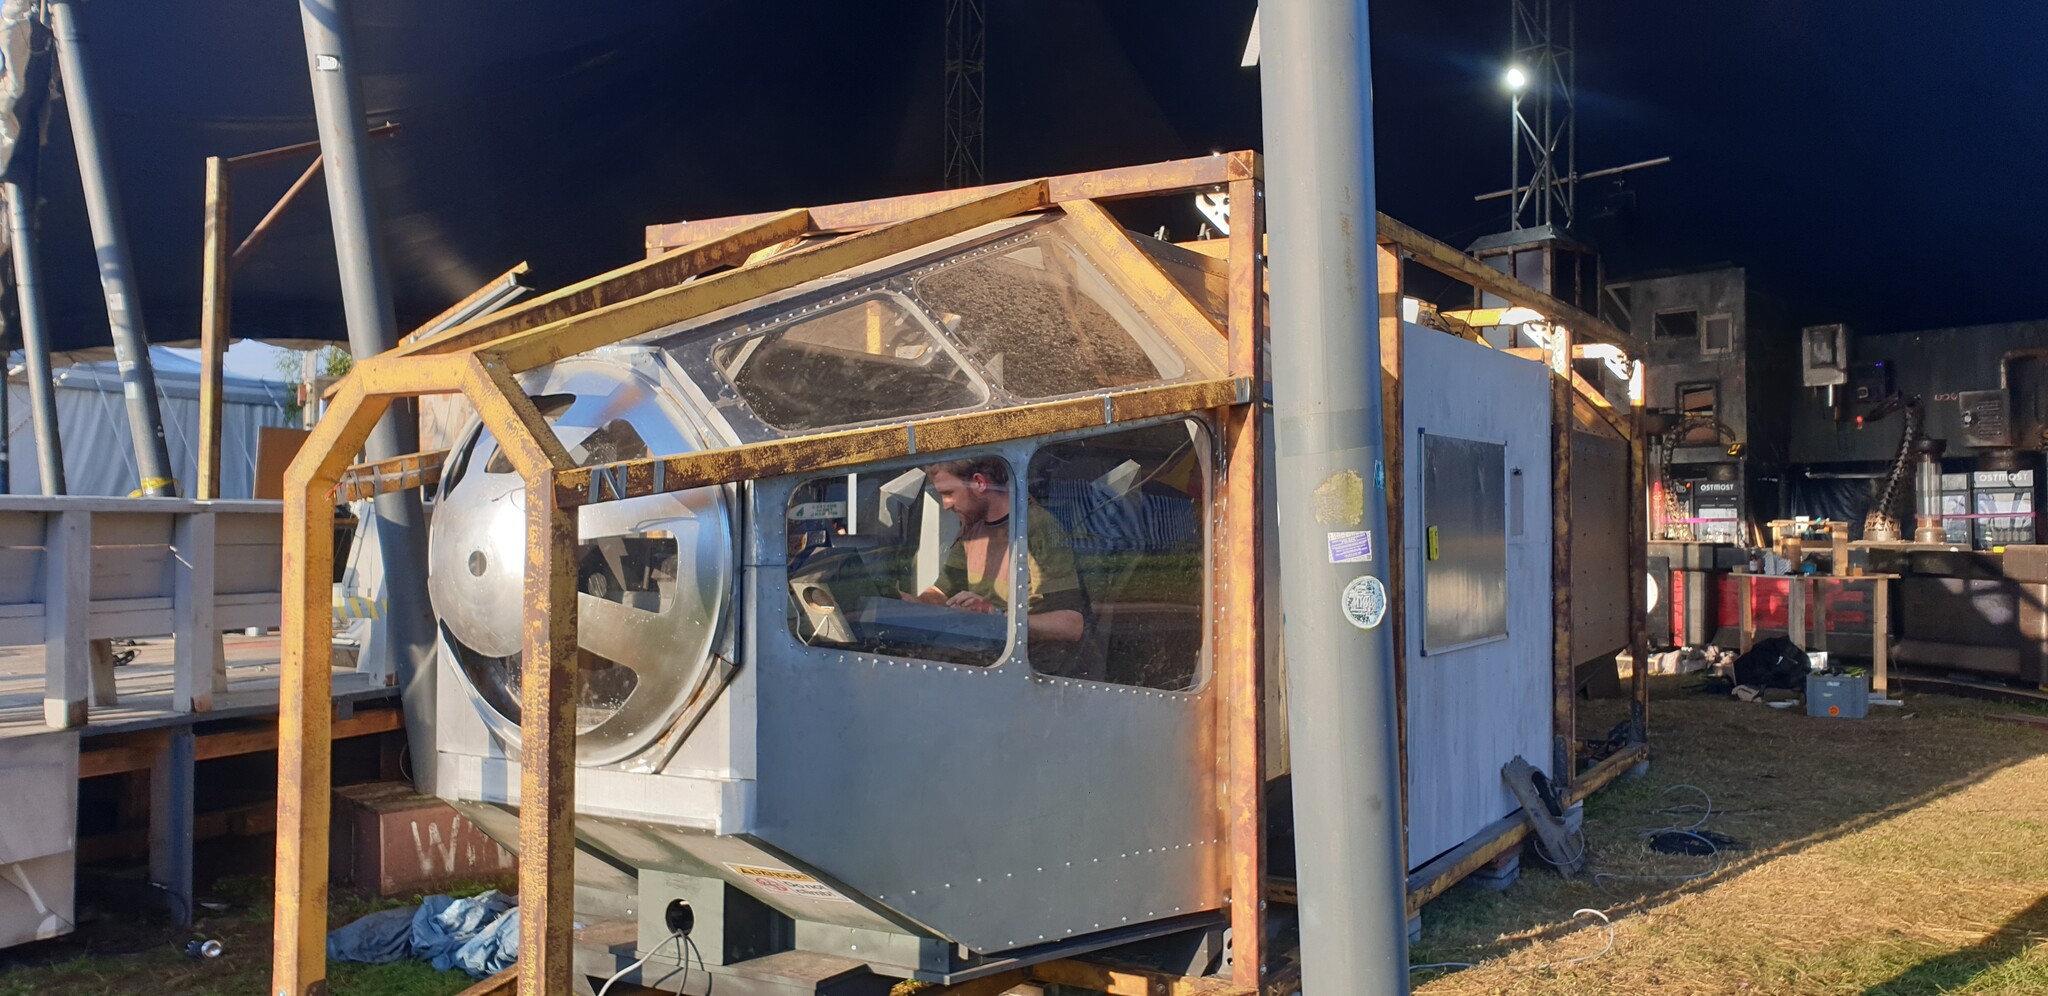
The Palapian's Spaceship
An interactive, networked spaceship you can actually board: players complete (or sabotage) missions across a dozen physical interfaces - buttons, joysticks, LED boards, sensors, etc - to either launch the ship or doom it, with everything driven by a Python/ESP/Unity stack. It’s modular, auto-resets regularly, and scales to festival crowds without manual babysitting.

Tux-Kart with Real-Life Powerups
Festival Installation where two people play OSS-Mariokart, but instead of Koopas the in-game items squirt water or fog at the opponent or hit with the Poolnudelschlagapparat.

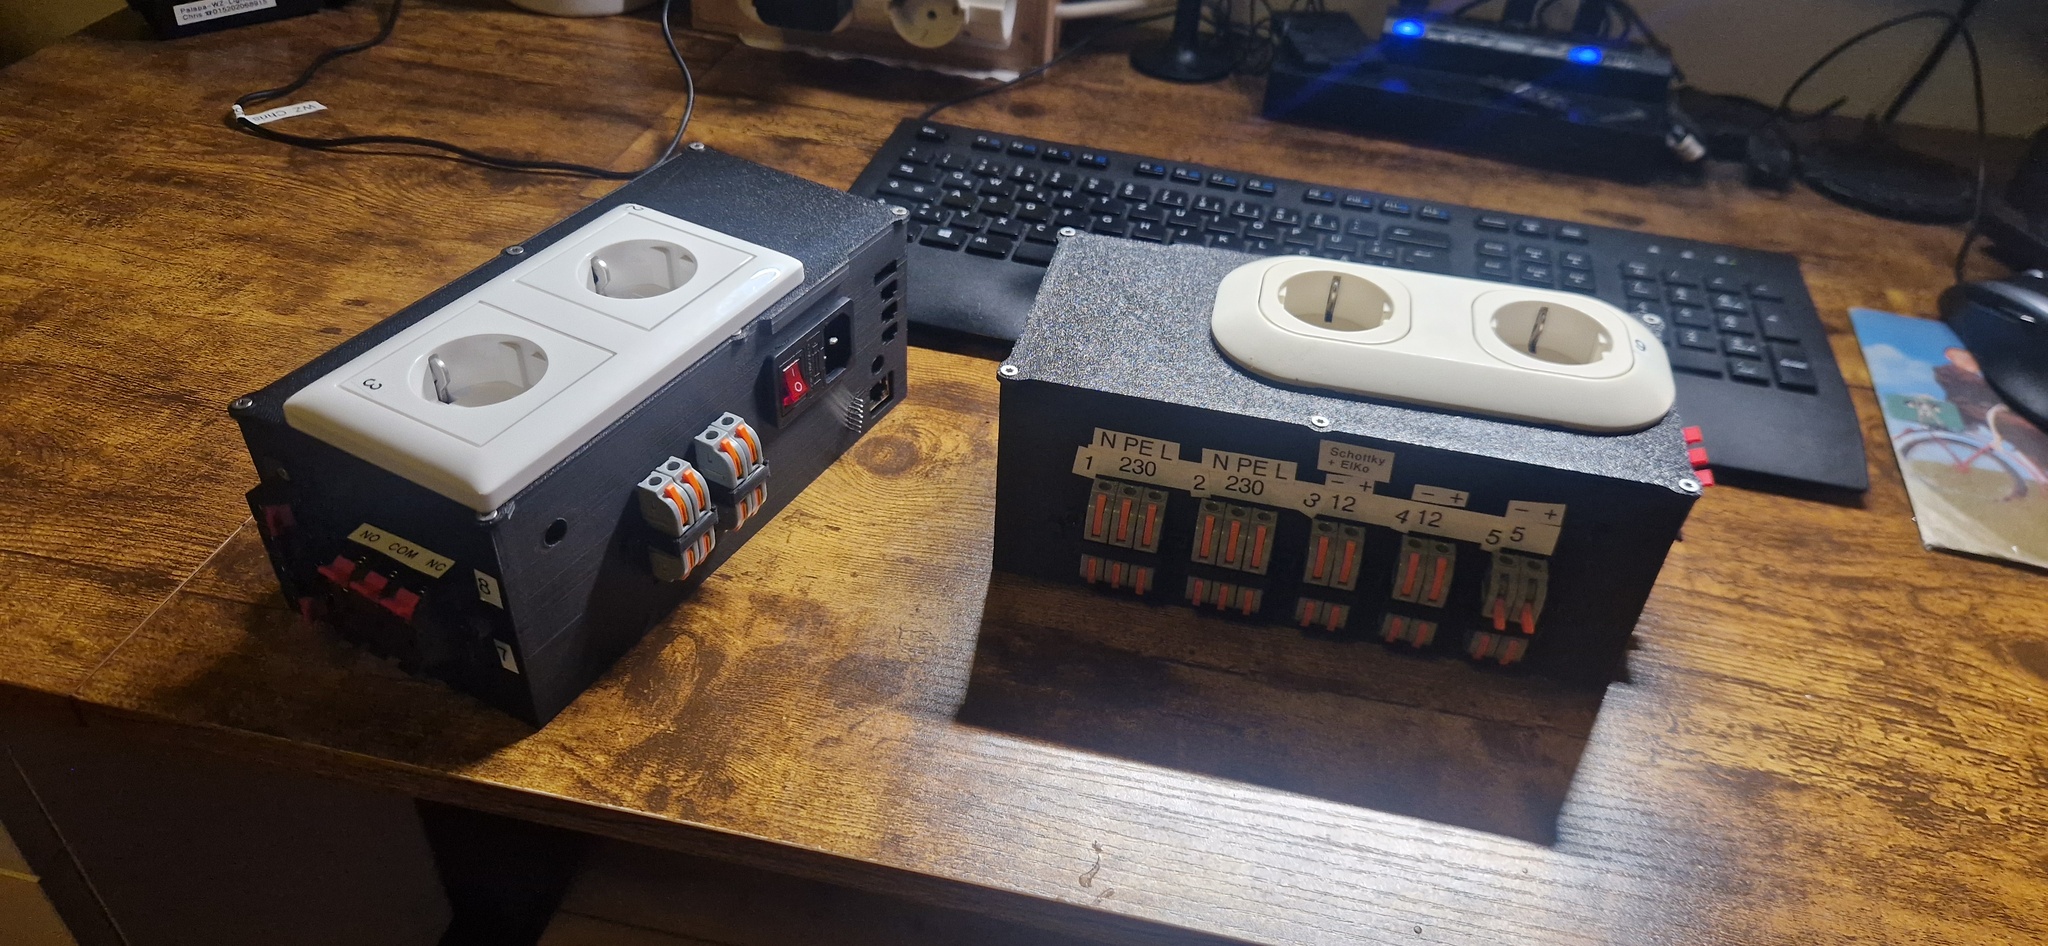
Relay-Boxes
A universal relay box for interactive builds: Ethernet-controlled with an integrated PSU, switching 230V, 12V, 5V and dry relays via OSC or Art-Net. I use it across projects like my Supertuxkart and the Palapa Spaceship to drive lights, fog, motors, and effects with simple, robust control.
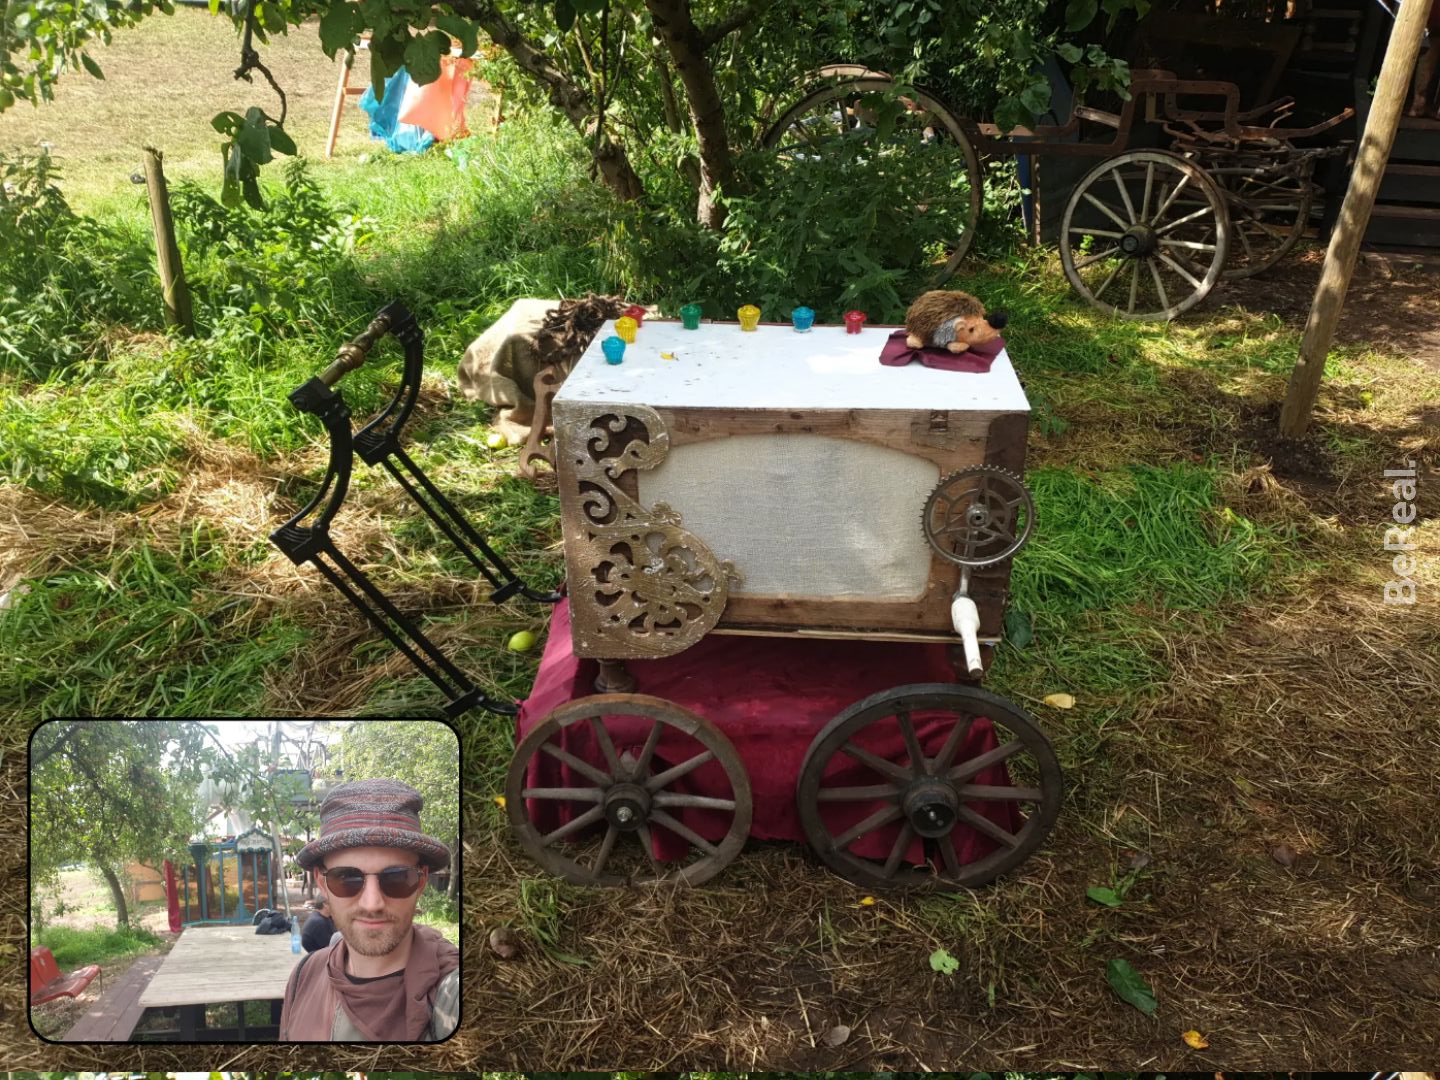
Moyn Leierkasten
A digital version of a leierkasten build out of scrap material, implemented using a microcontroller and a Raspberry Pi
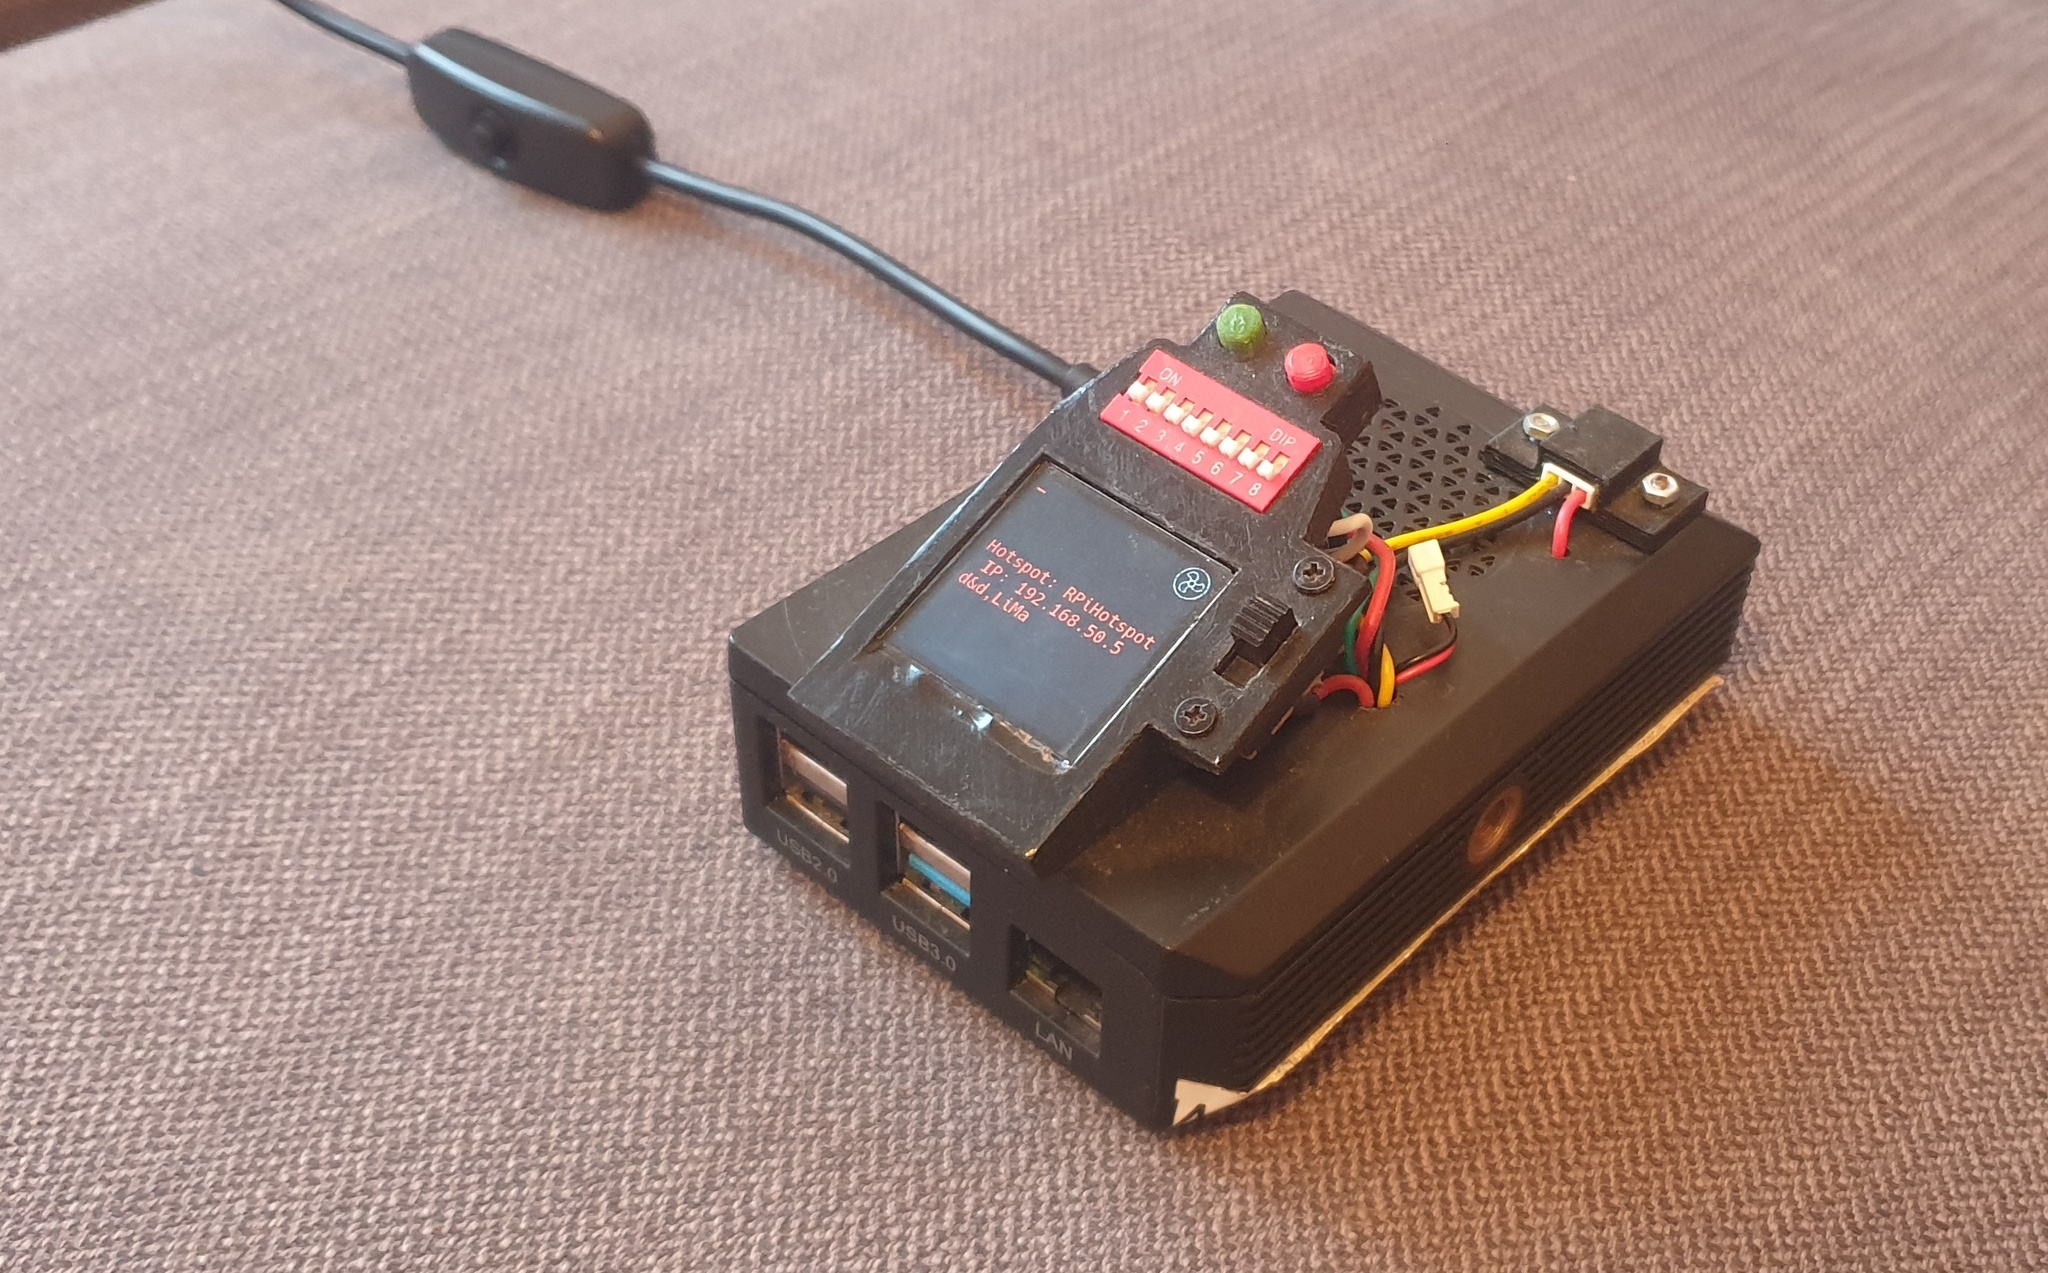
Multi-Purpose Pi
Custom-Printed Display/Input & Custom Code/Config to allow flexible Raspberry Pi Usage
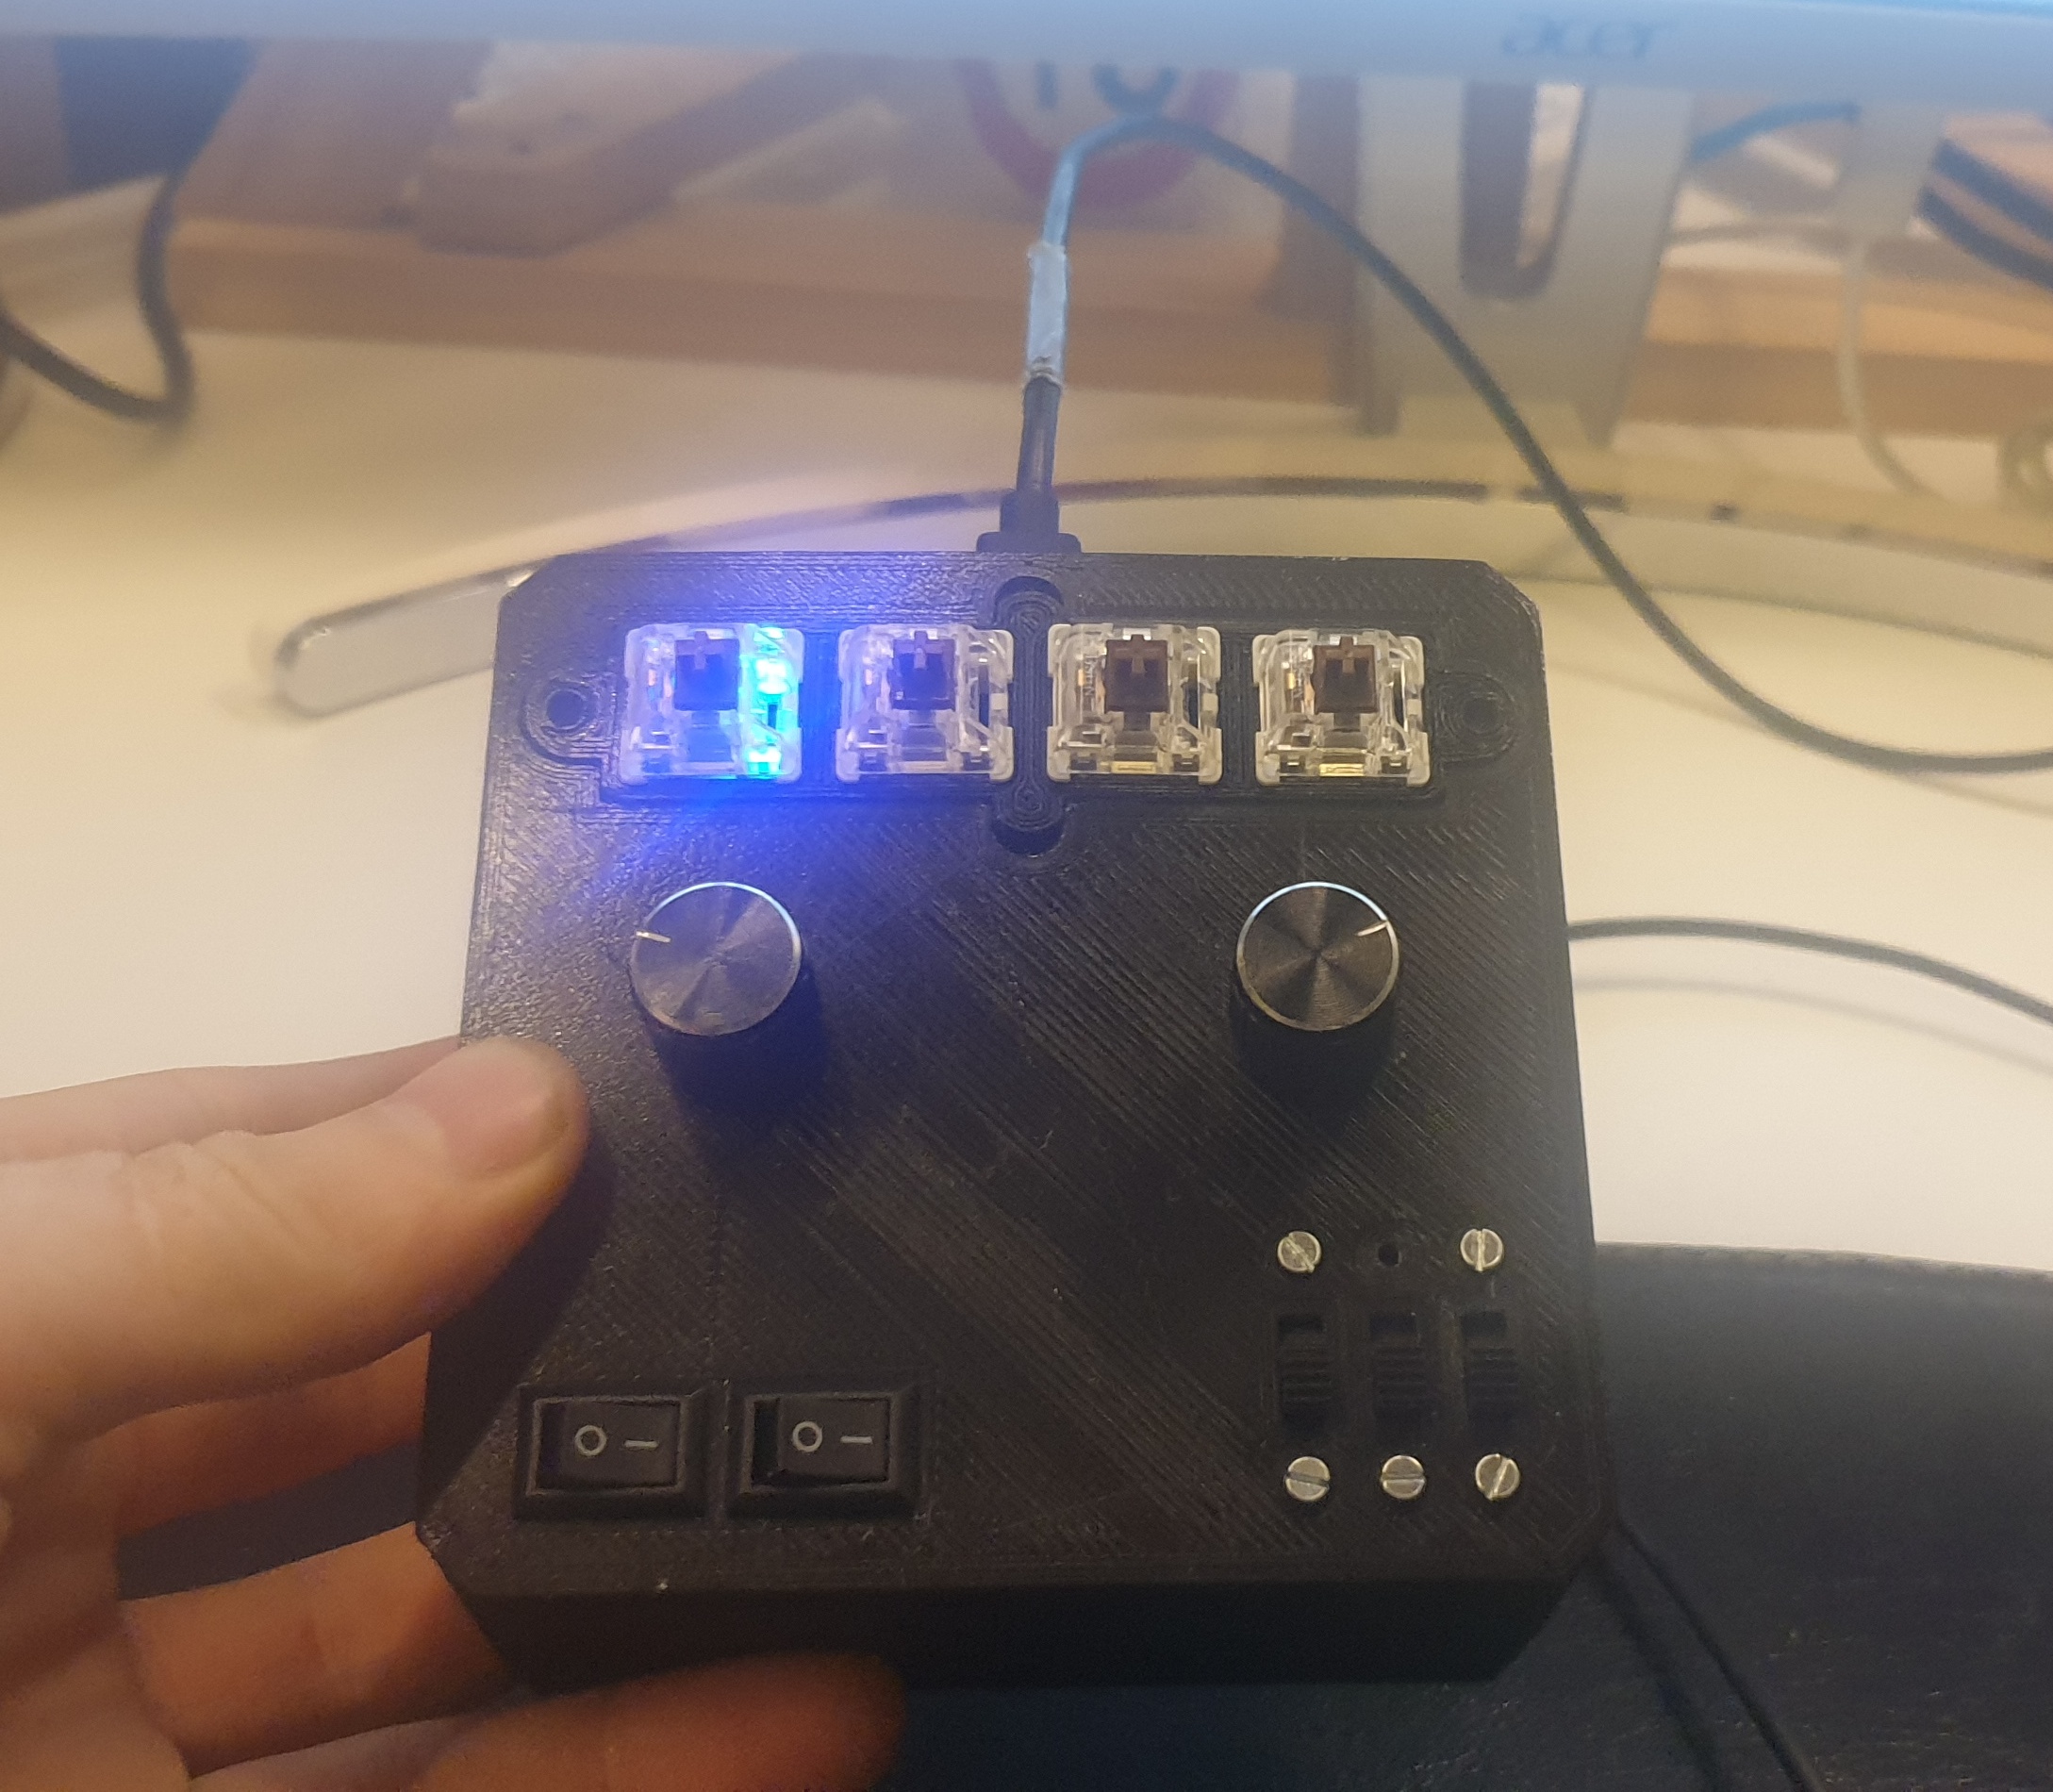
Button-Board
Multi-Purpose input device for controlling lights or just anything on your computer using 1 line of code each.
Wifi-Connected Party Lights
Custom-Printed setup of connected effect-lights for small events, controlled via ButtonBoard or Web-Interface

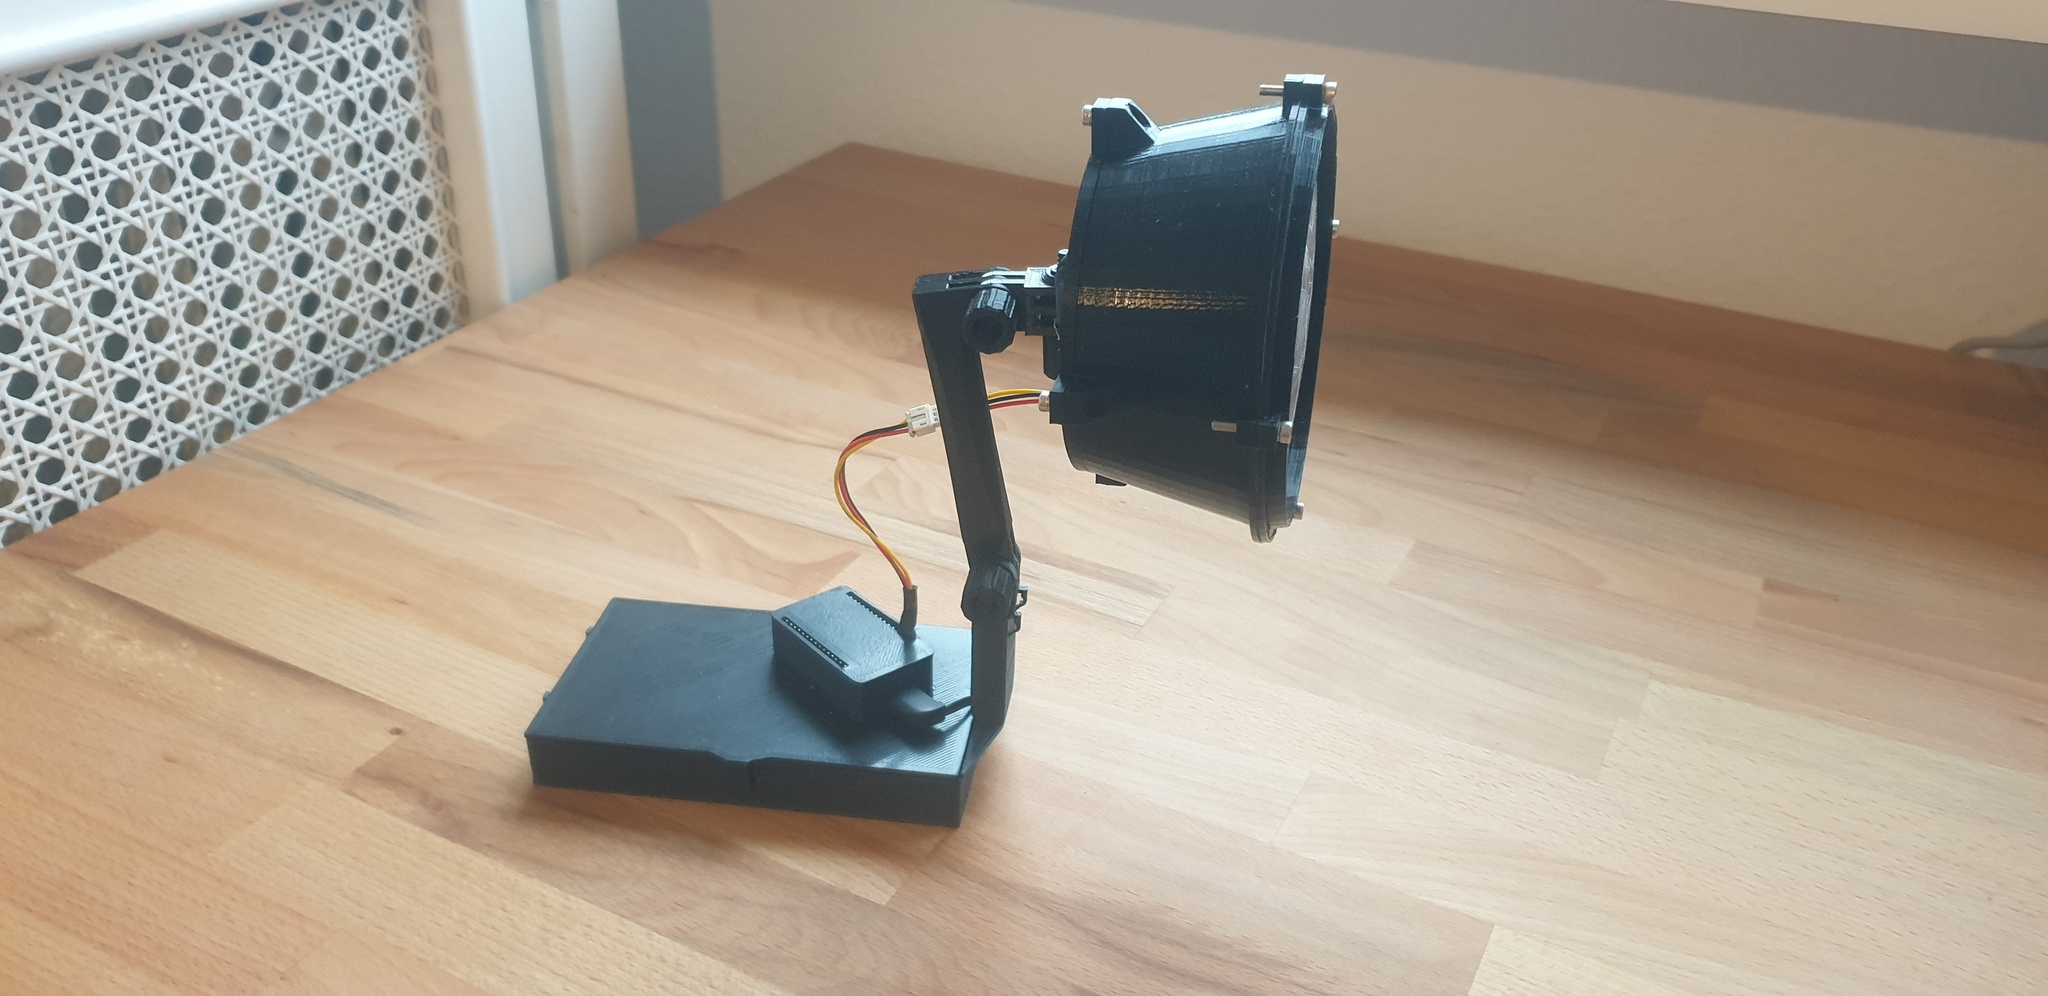
Stringart-Lamp
Easily build your own string art lamp with these premade 3D printable presets